How to Photograph Landscapes at Night
Thursday 27 June 2024
 585
585
 Reproduction without the author's authorization is prohibited


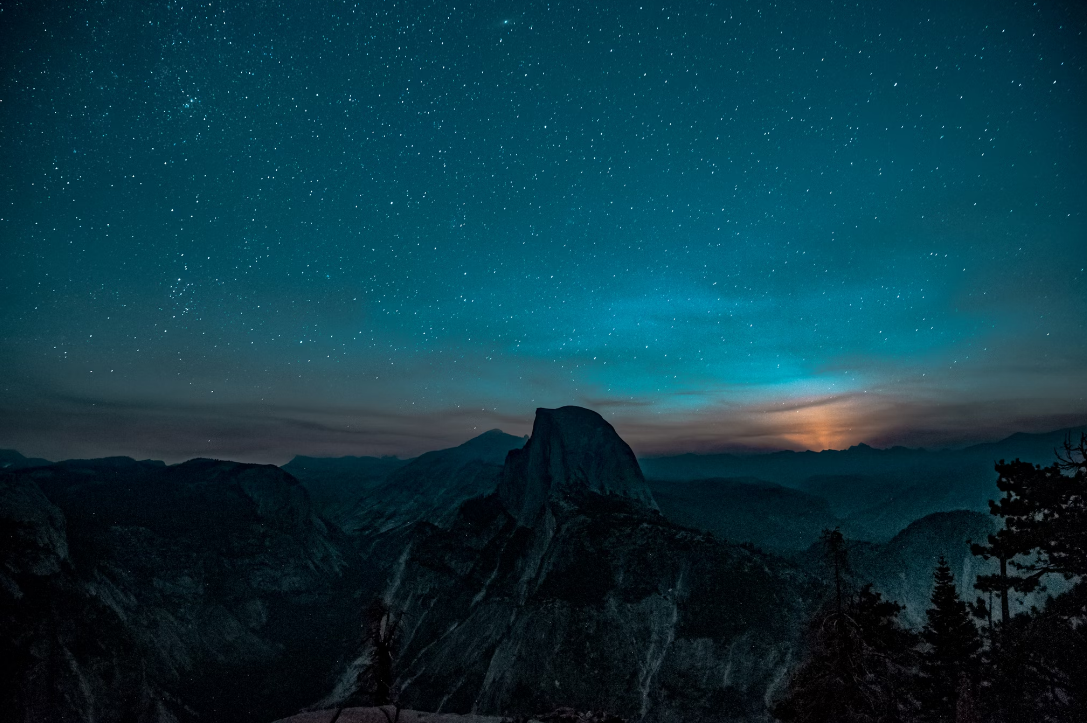
Photography is the art of light and shadow. But at night, it becomes difficult to shoot landscapes because the light is insufficient and the subject is difficult to see clearly. This blog will share several techniques for shooting landscapes at night.
Landscape photography and astrophotography
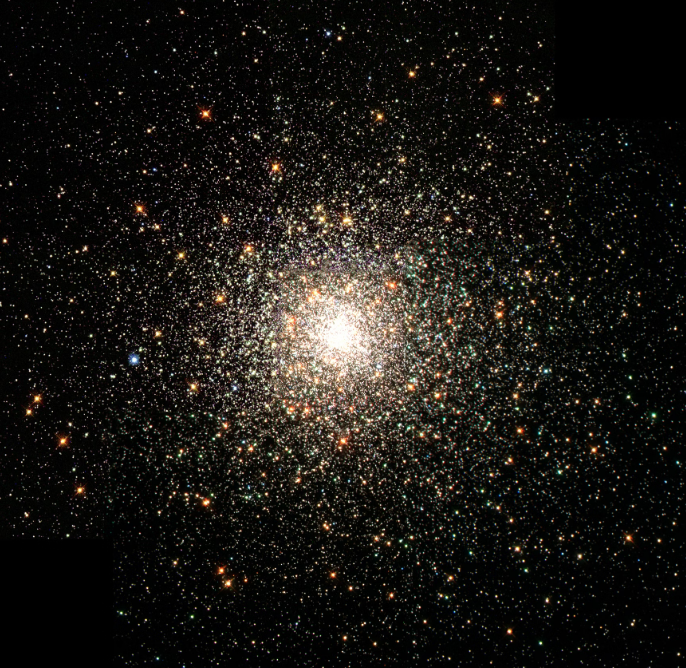
I believe that most people rarely see photos purely about night landscape photography. Most people who search for night landscape photography will see astrophotography. This is because there is no artificial light source in the natural environment. At night, the moon and stars are the only light sources. Most cameras cannot use these lights to make the photos as bright as during the day (obviously). Therefore, most pictures about night photography are obtained through long exposure or stacking photography.
The best environment for night landscape photography
Before you start night photography, no matter where you are or what equipment you use, you should do it in a suitable environment. Because the light conditions at night are limited, the tolerance of the camera or smartphone will be greatly reduced, and any interference and mistakes will be magnified. So a suitable environment is the first step to start your night photography.
Clear Weather Conditions: Clear skies are essential for night photography. Cloud cover can obscure stars and other celestial phenomena, so it's important to check the weather forecast before heading out. Look for nights with minimal cloud cover and low humidity, as this will provide the clearest views of the sky.
Moon Phases: The phase of the moon can greatly impact your night photography. A new moon or a thin crescent moon is ideal for capturing the Milky Way and a multitude of stars, as there is less ambient light. However, if you want to include the moon in your composition or illuminate the landscape naturally, a fuller moon can be beneficial. Plan your shoot according to the lunar calendar to achieve the desired effect.
Interesting Foregrounds: A compelling night landscape photo often includes an interesting foreground element to provide context and depth to the image. Look for environments with unique geological features, trees, mountains, lakes, or man-made structures that can add interest and lead the viewer's eye through the photo. Scout these locations during daylight to plan your compositions.
Safety and Accessibility: Safety is paramount when photographing at night. Choose locations that are accessible and safe to navigate in the dark. Familiarize yourself with the area beforehand and take necessary precautions, such as bringing a flashlight or headlamp, carrying a map or GPS device, and letting someone know your plans. Be aware of local wildlife and potential hazards.
Minimal Distractions: An ideal night photography environment should be free from excessive distractions. This includes avoiding areas with heavy traffic, loud noises, or other disturbances that can detract from the tranquility of the night. A peaceful and quiet setting allows you to focus on your photography and fully immerse yourself in the experience.
Seasonal Considerations: Different seasons offer varying opportunities for night landscape photography. For example, winter nights tend to be longer and provide more time for shooting, while summer can offer more comfortable temperatures. Additionally, certain celestial events, such as meteor showers or the aurora borealis, occur at specific times of the year and can make for spectacular photographs. Plan your shoots according to the season and the natural events that interest you.
long exposure

Long exposure photography at night is a technique that involves using a slow shutter speed to capture light over an extended period, creating unique effects such as star trails, smooth water surfaces, and illuminated landscapes. To achieve this, start by setting up your camera on a sturdy tripod to ensure stability and prevent any movement that could blur the image. Use a remote shutter release or the camera’s built-in timer to further minimize camera shake when taking the photo. Set your camera to manual mode to have full control over the exposure settings, including aperture, shutter speed, and ISO.
Begin by selecting a low ISO, typically between 100 and 800, to reduce noise in your images. Choose a wide aperture (f/2.8 to f/4) to allow more light to reach the sensor. The shutter speed will vary depending on the amount of available light and the effect you want to achieve; for star trails, you might use an exposure of several minutes, while capturing the Milky Way requires shorter exposures, around 15-30 seconds, to prevent the stars from streaking. It's essential to focus manually in the dark, usually by using live view to zoom in on a bright star or distant light source and adjusting until sharp. After taking a few test shots, review them and adjust your settings as needed to achieve the desired exposure and composition.
Stacking photography
Stacking photography for night landscapes involves taking multiple exposures of the same scene and combining them to produce a single image with enhanced detail and reduced noise. This technique is especially useful in low-light conditions where longer exposures can introduce significant noise. Start by setting up your camera on a sturdy tripod to ensure consistency across all exposures. Use a remote shutter release or the camera’s built-in timer to avoid any camera shake. Set your camera to manual mode, selecting a low ISO (typically between 100 and 800) to minimize noise and a wide aperture (f/2.8 to f/4) to allow more light in. Choose a shutter speed that adequately captures the landscape without overexposing any light sources, usually between 10 to 30 seconds depending on the ambient light.
Once your camera is set up, take a series of exposures of the same scene, ensuring that the focus and composition remain unchanged. You might need to capture dozens of images to achieve the desired effect. After capturing your shots, transfer them to a computer for processing. Use software such as Adobe Photoshop or specialized stacking programs like Helicon Focus or Zerene Stacker to align and merge the images. These programs automatically align the images and combine them by averaging out the noise and enhancing the consistent elements of the landscape. This process results in a final image with much higher clarity and reduced noise compared to a single long exposure. Post-processing steps like adjusting the contrast, brightness, and color balance can further refine your image, bringing out the intricate details and natural beauty of the night landscape.
What equipment do I need for night landscape photography?
Camera with Manual Settings: A DSLR or mirrorless camera that allows you to manually control exposure settings such as ISO, aperture, and shutter speed is crucial. These cameras also typically offer better low-light performance and the ability to shoot in RAW format for more detailed post-processing.
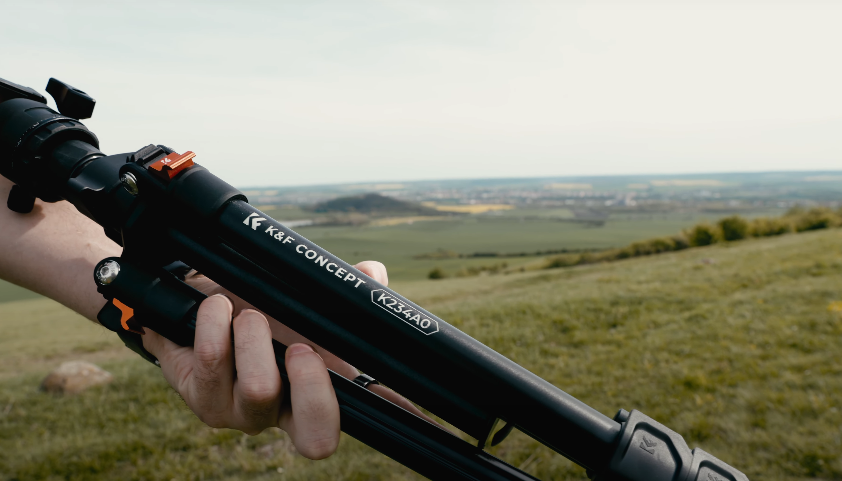
Tripod: Stability is paramount in night photography due to the long exposure times. A sturdy tripod will keep your camera steady and prevent any movement that could result in blurry images.
A stable tripod is the key to stacking and long exposure photography. The camera needs a longer exposure time to get enough brightness at night. In addition, the stability of the tripod is also very important, because the slightest shake may ruin your photography.
If you need a tripod, you can check K&F CONCEPT tripod. The K&F CONCEPT tripod adaptable to all equipment, from SLR cameras, mirrorless cameras, sports cameras as well as camcorders and mobile phones.
Wide-Angle Lens: A wide-angle lens, typically in the range of 14-35mm, is ideal for capturing expansive night landscapes. A lens with a large maximum aperture (f/2.8 or wider) is preferred as it allows more light to reach the sensor, which is important in low-light conditions.
Remote Shutter Release or Intervalometer: A remote shutter release helps to minimize camera shake when taking long exposures. An intervalometer can also be useful for shooting multiple exposures for stacking or time-lapse photography.
Extra Batteries and Memory Cards: Long exposure photography can drain batteries quickly, and capturing multiple exposures requires ample storage. Bring extra batteries and high-capacity memory cards to ensure you don't run out of power or space.
Power Bank: For extended shoots, a portable power bank can be used to recharge your camera batteries or other electronic devices on the go.
Conclusion
Photographing landscapes at night is very romantic, but there may be some additional risks. For example, low temperatures, mosquitoes, or wild animals. Be sure to pay attention to safety when photographing landscapes at night.


@2x-235x175.png)


-
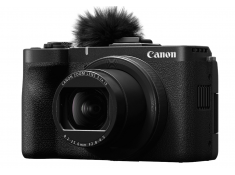 Canon releases PowerShot V1 camera, 22.3mp 1.4-inch CMOSThursday 20 February 2025
 -
 Canon PowerShot V1 camera specsWednesday 19 February 2025
 -
 Rumored:Nikon Z5 II specsMonday 17 February 2025
 -
 Zeiss announcing a new Otus for mirrorless camerasFriday 14 February 2025
 -
 LUMIX S1RII first spy photoWednesday 12 February 2025


 Your account requires approval before you can login.

